Let’s be honest, friend, setting up a primary classroom is no small feat. Between crayons, manipulatives, worksheets, and games, it can feel like your classroom is one giant stack of bins just waiting to tip over. So.Many.Materials. I get it! But here’s the truth. . . a well-organized classroom isn’t just pretty, it’s a powerful tool that supports student independence, smooth transitions, and your own sanity. So today, let’s tackle classroom setup together. Here’s my BEST tips for organizing all the things in a way you’ll actually want to use!

Classroom Setup Mistakes to Avoid
Before we jump into my tips for success, let’s talk about the things I have learned to avoid over the years. Yep, I’ve tried it ALL and some things simply don’t work. So, let’s cut through the clutter (pun intended) and make classroom setup a breeze.
Avoid the Pinterest Perfect Trap

Man, oh man, those “Pinterest-Perfect” classrooms sure do have an allure, don’t they? When I first started teaching I got sucked down this rabbit hole and held myself to a standard of beauty and perfection that simply isn’t doable for me. Not only is this rather expensive, but it’s hard to maintain with primary students. So, let it go. Trust me. Your classroom doesn’t need to look perfect to be effective.
Don’t Forget Traffic Flow
You’re about to have a ton of tiny humans in your room, so plan accordingly! Make sure there is a clear, thoughtful flow to the room that will naturally allow for movement from place to place. It’s also a good idea to think about which materials you wouldn’t want getting mixed up and avoiding those centers being right next to each other. For example, I’d prefer to keep the sand trays/shaving cream/playdough/glitter off the carpet and away from books, so the area we use art supplies is located on the tile, next to a sink, and away from the class library.
Functionality First
In the primary classroom, every inch of space counts! Make sure that your room is well-prepped for little learners by choosing functional decor pieces. Reference posters, labels, cubby tags, pictures, and visual directions are all great ideas. Avoid super cutesy fonts that are hard for primary learners to read. Overstimulating decor is a big no-no in my book, too. I want a calm, kid-friendly space that makes us all feel relaxed.
Classroom Setup Tips You’ll Love
Alright friends, now that we’ve covered some common pitfalls, here are some of my favorite tips to make classroom setup easy and make sure you’ve got a place for everything!
Label Everything (Yes, Everything!)

Primary students thrive on visual cues. I am a big fan of using both pictures and word labels on every bin, drawer, and container. Especially the ones the kids will be accessing independently. This not only helps kids find what they need, but it also encourages them to clean up independently, which is a huge win!
So make sure to label those center materials, school supplies, and individual student supplies with their names. This will take some time up front, but it is SO worth it!
Foster Independence in Your Classroom Setup
After you’ve got your labels in place, the next step in classroom setup is ensuring even more student independence. We all know how difficult it can feel when we can’t find what we need. Eliminate this problem for students by ensuring easy access to the materials they use frequently. This is extra important if you have shared materials for tables or groups in your classroom. You’ll want to make sure everyone knows where to find things like:
- Crayons and pencils
- Name-writing practice pages
- Table or group materials
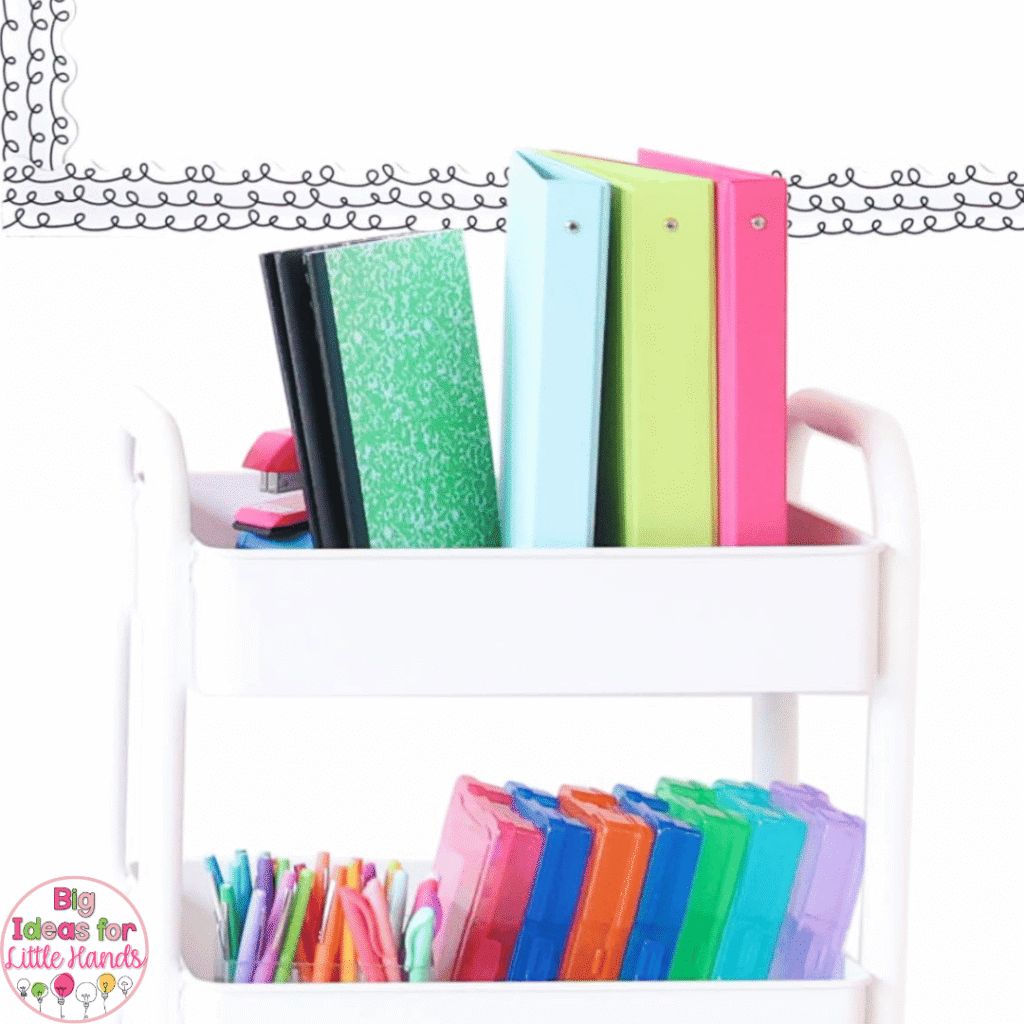
Label these clearly and use color coding or table numbers to keep track of which group each bin belongs to. This encourages responsibility and helps with transitions. If your kids have lots of shared materials, consider using a rolling cart like this one for each group. Caddies and containers fit nicely on these, and they can be wheeled away when not in use. And speaking of materials, let’s talk about one more way to organize them in the next tip. . .
Group Materials by Purpose, Not Just Type
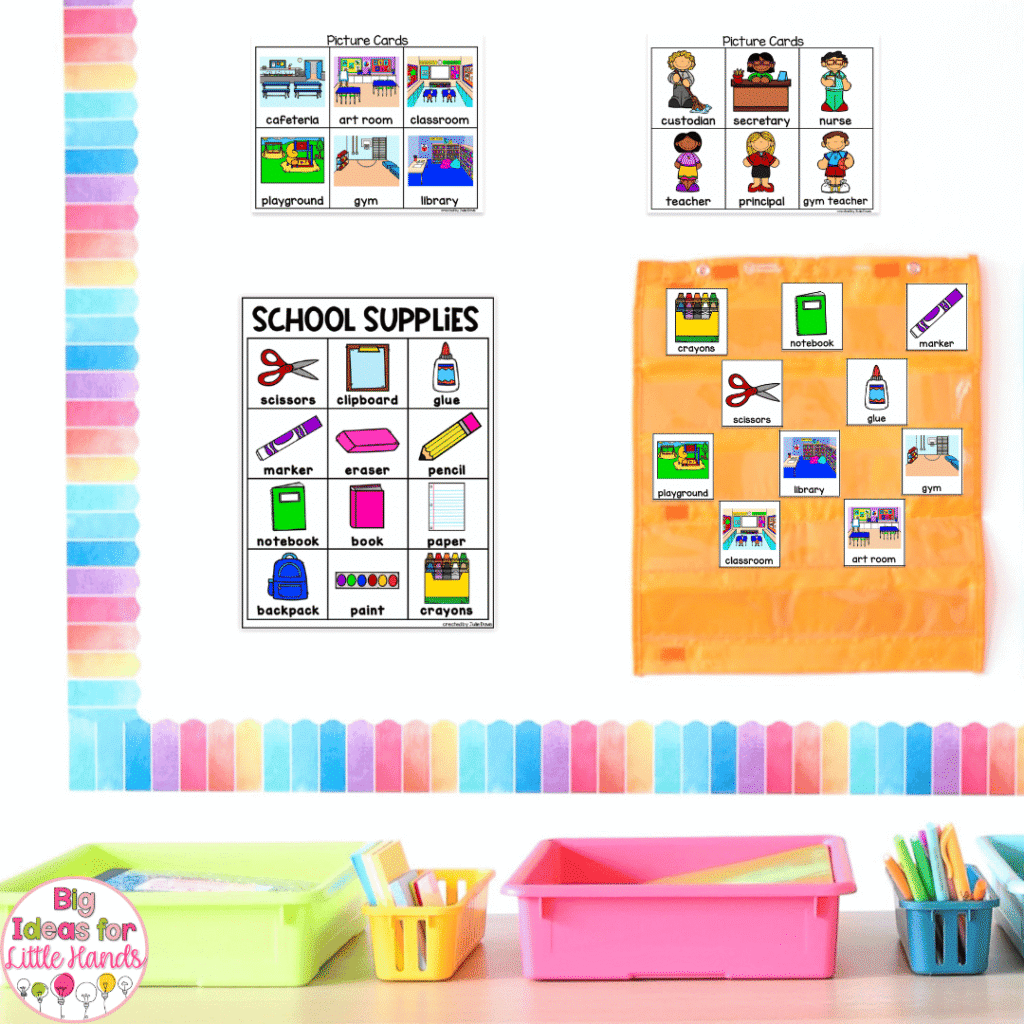
Instead of grouping all your markers in one place and glue in another, organize materials based on how they’re used. You might think this sounds a little crazy, but think about it. . . You might have 25-30 kids in your room at a given time, and they will all be working on different things during centers. During this time, they will ALL need access to those materials, so in addition to easy access to group supplies, consider making “kits” for each area of your room to help ensure everyone can access what they need without a mad dash to the supply area. Here are some ideas:
- Writing Center: pencils, crayons, paper, alphabet charts
- Math Tubs: number lines, ten frames, shape manipulatives
- Literacy Station: letter tiles, magnetic boards, word cards
- Craft Supplies: scissors, glue, markers, colored paper
This system helps with both student access and quick cleanup during centers. You will also want to make sure you have a system in place for the resources that will be used alongside those materials.
For example, in my room, we use Monthly Writing Center Resources. So, in addition to the supplies and blank paper you’d expect, I also have binder rings for word cards, sorting trays for different writing prompts, and pocket charts for visuals. Having this all together at the beginning of the year will make setting up each center a breeze! Oh, and if you’re interested, you can learn more about how I set up my writing center in this post.
Pro Tip: Sit down and make a list of materials for each center “kit” to make prep and shopping easier!
Use Drawer Carts for Classroom Setup
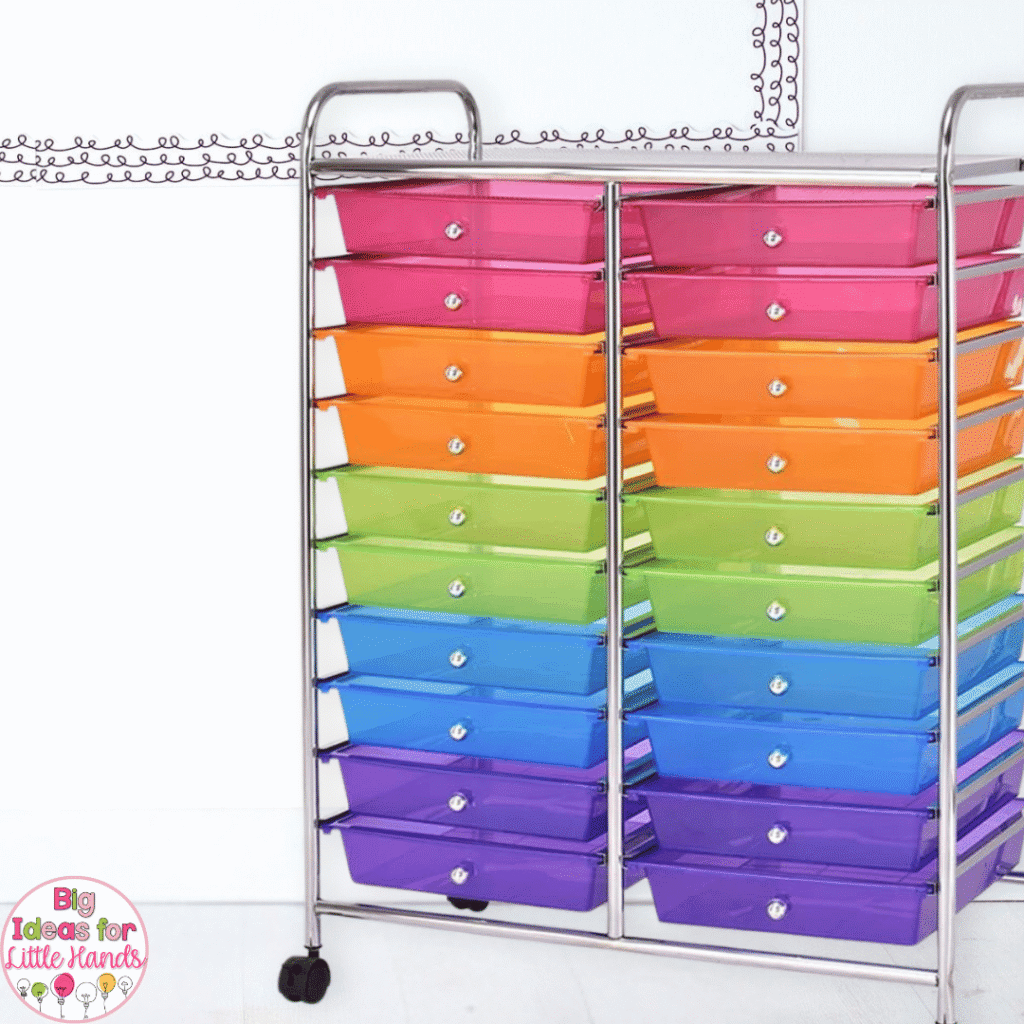
I LOVE a good drawer cart and have found so many ways to use them over the years. They are easy to label, come in colorful options, are pretty durable for the classroom, and best of all, versatile. I use them every year in different ways. Some of my favorite ways to use them include:
- Organizing small group center materials
- Fast finisher bins
- Morning bins
- Weekly worksheet sorting
- Sub activities
They are just big enough that you can easily fit some tools, like scissors, or manipulatives in them, along with the worksheets required for the activity. It’s a great option for quick and easy storage that looks pretty, too!
Prep Small Group Games Ahead of Time
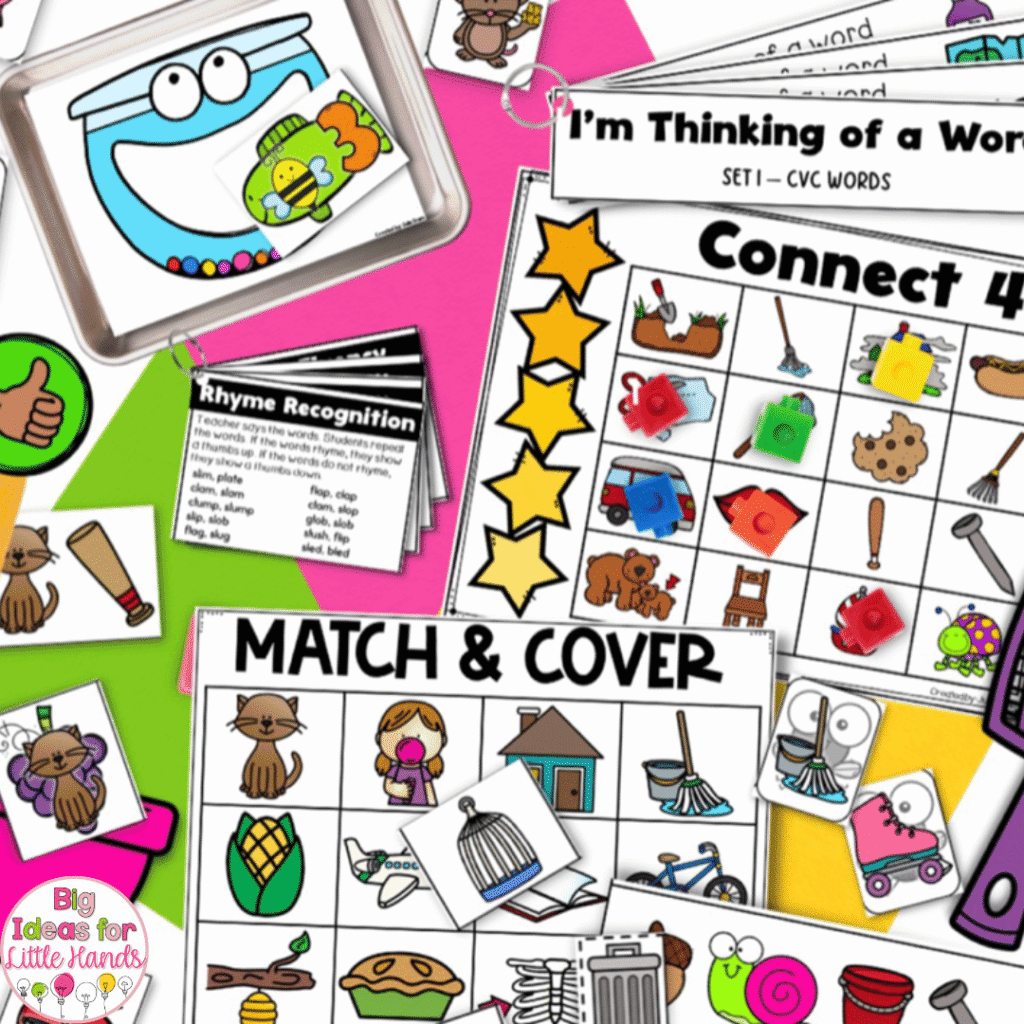
Alright, ready for a life-changing classroom setup tip? Prep your small group games ahead of time. I know, it sounds simple, but you guys. . . it makes such a difference when you’re in the teaching trenches mid-school year. Plus, once you do it the first time, you will be able to use those materials for years to come.
I like to use photo boxes, drawer carts, Ziploc bags, or small tubs labeled by skill or group level. Inside, you can include:
- Laminated game boards
- Instruction cards
- Dry-erase markers and erasers
- Any necessary manipulatives
For example, this Bundle of Small Group Phonemic Awareness Games is something we use all year long. Prepping those materials before working on classroom setup means I can get a well-organized system in place to use them easily. Year after year, I am SO thankful I took the time to do this because it means more time for instruction!
Organize Center Games by Skill and Season
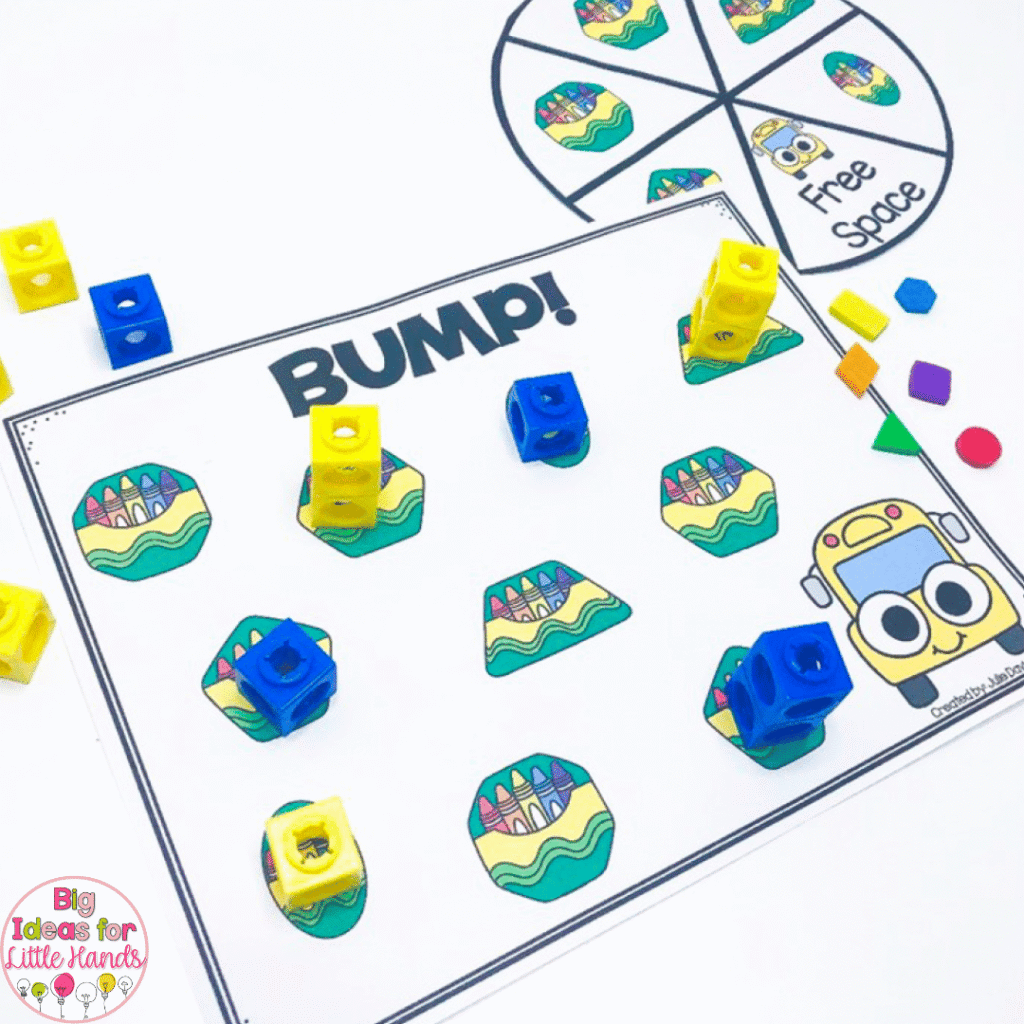
Let’s start by talking about center games because we all know they can quickly become a black hole of Ziploc bags and half-missing cards if you’re not careful. Please tell me I’m not alone! To avoid this problem in your classroom setup, I recommend deciding before you get started with classroom setup how you plan to store and organize them. In my room, I am a big fan of breaking them down first by season or holiday, and then by skill. If I have some that can be used at any point during the year, those are simply stored by skill.
To use my system, get some clear zipper pouches or gallon-sized plastic bags. Then, print the cover pages and directions for each set of center activities you have. Store those in the plastic bag with the cover page facing up so you can see what it is.
Add the actual activity pieces next. If the activity needs supplies not normally on hand, write “needs xyz” on a piece of tape and stick it to the outside of the bag. Then, sort the bags by season and skill and tuck them away in labeled bins. When you’re ready to plan for that season, you will be able to pull out your bin and easily flip through to see what you’ve got. Better yet. . . everything you need is prepped and ready to be used.
For example, with a resource like the 2D Shape BUMP Game Bundle, prep each game by printing and laminating the game boards. Then, store them in baggies as I mentioned, and sort them by season. Then you can easily rotate games in and out each season without digging through an overflowing drawer!
Create a System for Worksheets

If you use print-and-go worksheets, make sure you have a plan for printing, storing, and distributing them. Here’s what I do in my room:
- Print a week or a month’s worth at a time.
- Organize by day in file folders, drawer carts, or stackable trays labeled Monday–Friday.
- Keep a “fast finisher” drawer for extra practice pages.
You can also sort master worksheets by skill in color-coded binders, such as green for phonics, blue for math, and yellow for handwriting. Add tabs for CVC, CVCe, blends, etc. That way, pulling differentiated practice is quick and seamless. Oh, and if you need some ways to make worksheets more fun, read this post next!
Create a Teacher Station to Stay Sane

This is such an important tip when it comes to classroom setup, and yet we often forget it while trying to create a functional space for our kids. So, teacher friend, don’t forget to designate a corner (or at least some drawers) that’s all yours. Here, you can store your:
- Daily lesson materials
- Copies, books, and read-alouds
- Sticky notes, paperclips, and YOUR pens (because no one else gets the flair pens!)
- Maybe even a teacher toolkit drawer unit to keep your things organized
I like to use a weekly drawer system labeled M–F for prepped lessons. This is another use for those colorful rolling drawer carts! I like this one for lesson plans because it has 10 drawers, so I can have our weekly lessons and my small group materials all in one set of drawers. At the end of the week, file leftover printables or samples back into binders for future use, or add them to the fast-finisher bin for extra practice. Then, you will have a fresh, clear spot for next week’s materials.
Get Started with Classroom Setup
Organizing a primary classroom isn’t just about making it look good, though that part is fun, too! It’s about creating a space that supports independence, ease, and learning for both you and your students. With a few simple systems in place, your games, worksheets, and centers will be easy to find, prep, and reuse again and again. Whether you’re getting ready for week one or refreshing mid-year, these organization ideas will help your classroom run like a well-oiled machine! So have fun setting up your room, and don’t forget if you need to refresh your materials and lessons, I’ve got tons of great resources over on TPT!
Save This Post
I know you’ll want to come back to this classroom setup post later, so be sure to pin it on Pinterest for easy reference!